Class Recommendation Wizard
The FIRST step is to come up with your questions.
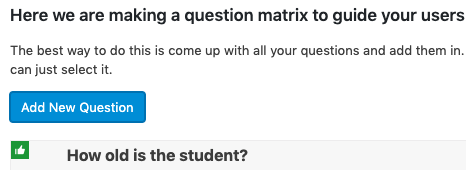
Yeh yeh yeh, we know that most people will want to jump right in and start clicking around. But we will give you some A+ advice on this one. The best way to do this is to come up with a list of evaluation questions first. Most schools will already have some questions that are asked potentially over the phone to users who want to enroll in their school to figure out what the best class type of level would be. So compose those first. And then after doing that we can start adding those puppies into the wizard.
Here’s how to add a new question. Click “Add New Question”.
Next, you will add your question and click “Save question”.
Do this step for ALL your questions BEFORE adding your answers.

Next, add answers to your questions
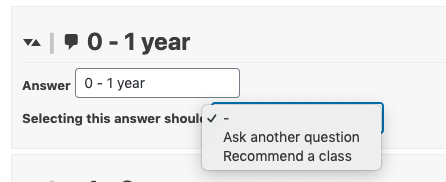
After all the questions have been added let’s go back and add answers to the questions. There are 2 options for each answer.
- Ask another question – This will route the user to the next question.
- Recommend a Class – This will allow a class to be recommended when the option is clicked.
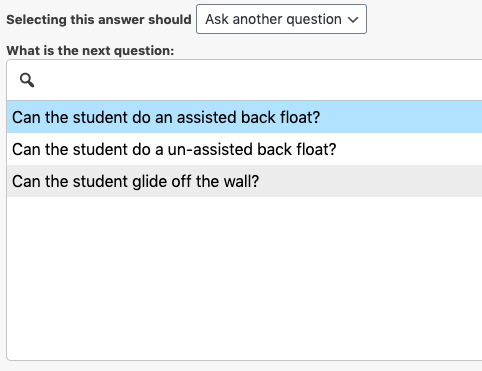
Asking another question
When an answer is set to ask another question a searchable list of all the wizard questions will appear. To select the next question simply select the question. A question is selected when it turns blue.
Recommending a class
Setting an answer to recommend a class is the purpose of this whole process. And its pretty darn simple too. Just select “Recommend a Class” from the drop down list. Action Rabbit’s recommendation tool works with Jackrabbit Class’s categories. We recommend classes based on categories. So select a single category or all 3. When we are recommending a class we can make the recommendation appear in a variety of ways.
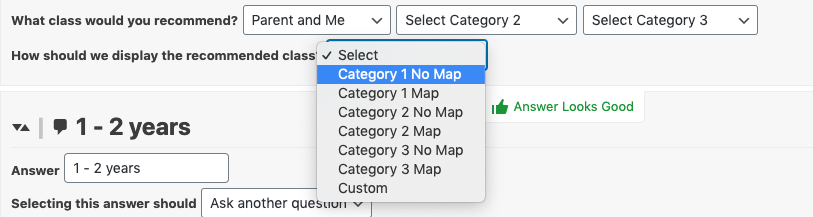
Selecting what the class recommendation will say
- Category 1 No Map – The Category 1 name from Jackrabbit Class
- Category 1 Map – The Mapped Category 1 name from Action Rabbit
- Category 2 No Map – The Category 2 name from Jackrabbit Class
- Category 2 Map – The Mapped Category 2 name from Action Rabbit
- Category 3 No Map – The Category 3 name from Jackrabbit Class
- Category 3 Map – The Mapped Category 3 name from Action Rabbit
- Custom – Whatever you want.
There are a few things worth mentioning here. If you select a Category Map that you have set up and the map has an image, the wizard will detect the image and will show the image with the recommendation which offers a superior user experience.
Recommendation Click Action
There are a few things that schools can specify for the click action of the recommended class.
- List Classes – This will show either a weekly class calendar or a class table based on your display preferences.
- Redirect to a new page – This will send the user to the url you specify. This might be good for schools wanting to send wizard users to a specify page that is associated with the recommended class.
- Show the class only – This will have no event associated with a click. Essentially meaning all the user will get is a recommended class.
Displaying multiple classes to the user when they click the recommended class.
Some schools might want to display multiple classes to the user. This can’t be done in the recommendation but can be done in the when listing the classes. The methodology here is that the category selected to display as the recommended class. Let’s say the recommend class was category 1 ONLY and the value was Parent & Baby. When the user clicks the recommended class. ALL Parent & baby classes would be displayed. Alternatively if the Answer specified Category 1 as “Parent & Baby” and the Category 2 was specified as “Level 1” only the Parent & Baby Level 1 classes would be displayed.
Got somethin' to say?